What Are the Key Dynamics to Consider in Silo Design?


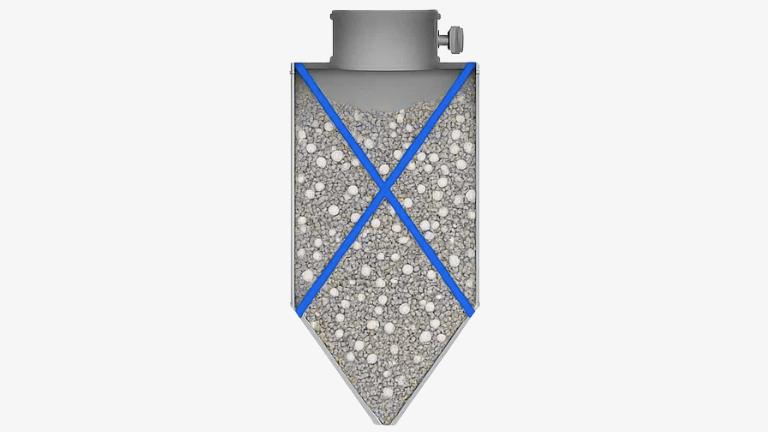
 FEA (Finite Element Analysis): Used to simulate pressure, stress, and flow patterns.
DEM (Discrete Element Modeling): Helps model individual particles and how they interact.
Sensors & Load Cells: Real-time monitoring of dynamic loads for better system control.
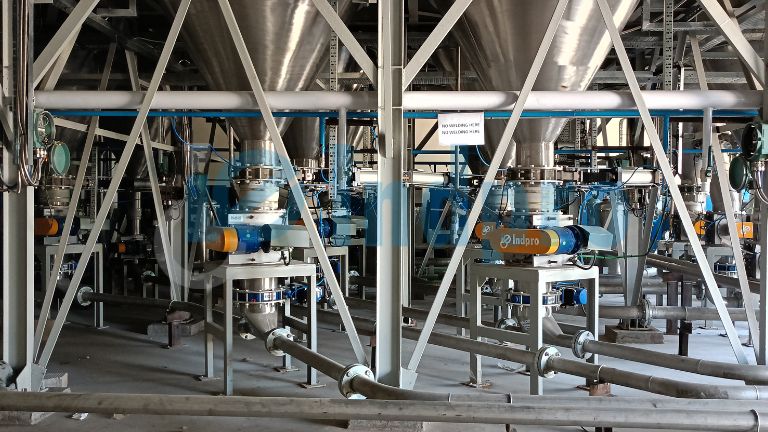
 Feeding systems (conveyors, loaders)
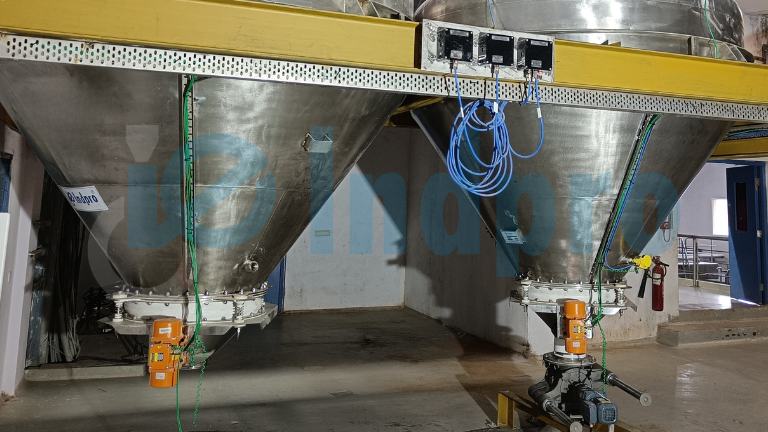
Discharge systems (pneumatic conveying, rotary valves)
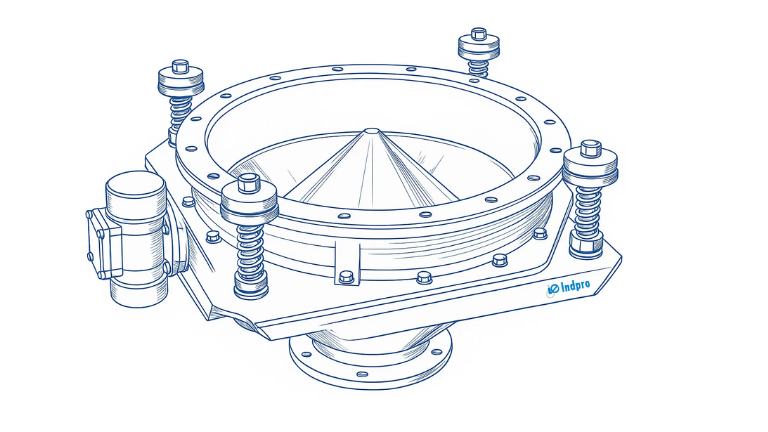
Designed to be dust-tight and hygienic, – with food-grade variants available.
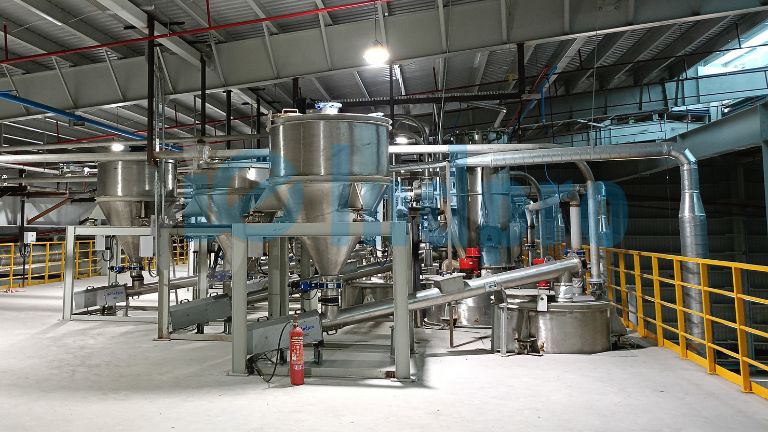
Dust collection units
Control automation (sensors, alarms, flow monitors)